Showing posts with label kids room/playroom. Show all posts

Wednesday, March 29, 2017

Shared Boy Nursery & Girl Toddler Room - DIY Budget

Hi everyone! I can't believe it's been so long since I posted anything... eek! Sorry about that. I started a new job in January and I've let a lot of other things slide. So, I'll make up for it this week with 2 posts including a free printable (coming Friday).

Until then, I decided it's about time I shared my DIY nursery-toddler room. My baby is a year old after all!


This room was a lot of fun. But, a bit challenging to combine a boy and girl's room. I tried to solve this by using  a lot of yellow, white, and teal with pink on my daughter's side of the room.


My goal was to spend the least amount possible. But, still have a room I was excited to put a newborn in. One way I saved was by re-using things I already had, like the banners & garland from my daughter's nursery and fabric I had on hand to make a pillowcase.


Above the changing table I did a shared gallery area. I used some prints from when my boys were little, a pretty crewel flower piece I got at the thrift store a while ago, and some free printables I found on-line. I already had the frames. Some just needed painted white. So, I didn't need to buy anything here.


I always worry about putting anything too heavy over cribs and beds... What if there's an earthquake and it falls? So, I designed this banner to coordinate with the nursery. I attached each letter with two tiny clothes pins. I will probably list this for sale in my shop if there is interest?


I painted the wooden dresser aqua and suddenly loved it so much more. The frame on top is another free printable I found on-line. I was going to buy some new hardware for this dresser. But, decided to go through my stash. I found these handles from a dresser I re-did. So, I painted them white and sanded them a little. Big savings there!


The bifold doors & wreath behind my daughter's bed are 2 of my favorite things. My neighbor was going to throw these doors out. But, I rescued them. I didn't have any yellow paint. But, I did have a little bottle of yellow craft (acrylic paint) and some white interior paint. I mixed the two to make this pale yellow color. I had my husband screw it into the wall really well.


I made this wreath with a foam wreath-base and felt. Making all those flowers was a lot of fun. My daughter was excited to see me making something for her. It helped lessen the blow of sharing a room with her baby brother. (She REALLY wanted a sister!)

I hope my kids' shared boy nursery and girl bedroom has given you some ideas on decorating on a budget. I'll be back Friday with that printable, as promised.

Wednesday, July 27, 2011

Transformer Bedroom

So, here is our boys room. It's pretty bare. Remember, we just moved in. My goal was to have a Transformer bedroom that didn't feel too themed.
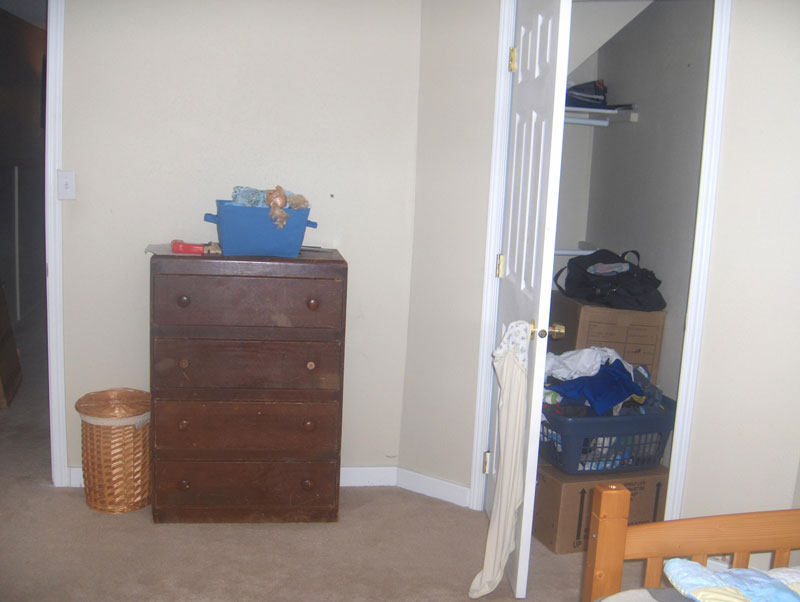
BEFORE

AFTER

There are lot's of little projects that went into putting the room together. First, I don't know if you can tell I painted the walls a warm gray. Then I painted the dresser, made pillows, created some art for the walls, and a banner. I didn't buy a lot of new things. My sister gave me the curtains. The kids love it and that's what's important, right?
BEFORE

AFTER

I think this room will grow will be able to grow and adapt as the kids get older. I like that. What do you think?

Tuesday, July 26, 2011

Banner

I was getting ready to take a bunch of maternity clothes to the thrift store, when I notice some of the colors went great with the boys room. I kept a few shirts out and decided to make a banner.
I wish I would have added a little space between each piece but it works! Another free project, just how I like them.

Saturday, July 23, 2011

Easy Pillows

I wanted the boys to have matching comforters but that was not in the budget. So, I decided to mix the colors in with throw pillows to tie them together instead.
I started with the basic pillow, which I did in the gray color of my other boy's comforter. I used a pillowcase I already had to figure out the pattern. Then I added the smaller pillows for accents. The red pillow is from my 10 minute envelope pillow cover tutorial. There was only 3/4 yard of the Transformer fabric so I cut a crop out of it, and made the back gray, using the same tutorial, with some adjustments.
NightOwlCrafting

Friday, July 22, 2011

Framed Poster


My oldest requested a Transformer room. Without wanting to spend too much or make it too themed, I decided I'd still better have some obvious elements. So, I opted to buy this $4 frame at the thrift store and put a $5 poster in it.

It was a super easy project but makes a big impact. Another nice thing is I can switch out the poster when the boys move on from the Transformer phase.

Thursday, July 21, 2011

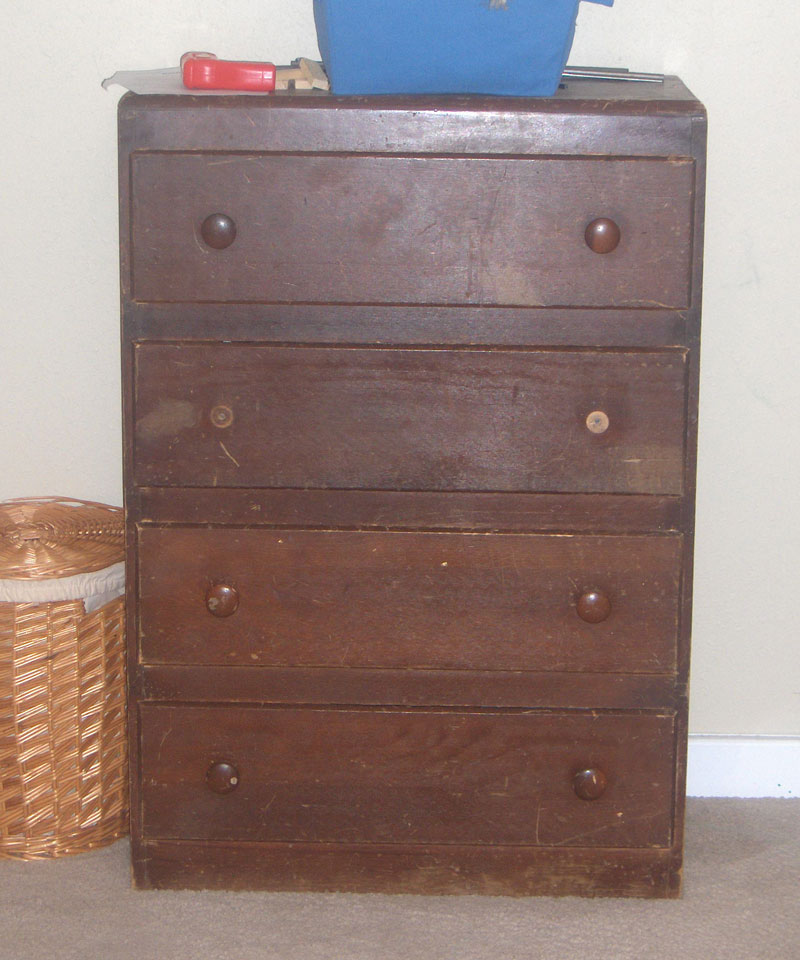
Dresser

Last week my project was the boys room. It feels so good to have one room completed! I will show the entire thing in a few days. But, first I'm going to tease you with the projects I did along the way.
This first one is the dresser. I bought this for $10 on Craigslist with the intention of repainting it. My favorite feature is the tic-tac-toe game.
The paint turned out quite splotchy and I'm not exactly sure why. I had my husband spray paint it to avoid exposing the baby to unnecessary fumes. I think it may be that I had him use matte paint instead of glossy. 

Anyway, it's better than it was and we had to get those close put away so... Maybe when life slows down this will show up again as another before & after. More boys room projects to come!

Friday, May 27, 2011

Smaller Cooler Contest

Have you been checking ohdeedoh's Smaller Cooler Contest? I am finding it so inspiring. These people are amazing with their use of space. This room is only 18 square feet! No wonder the crib is in the closet :).
Here's one more. This one is 30 square feet!

Friday, May 20, 2011

Library Wall


Note to self: Make room for a library in the new house.